First 3D printing project
3D printing is the process of creating models by stacking layers of thermoplastic on top of each other. It’s similar to icing a cake. There are some rules to follow. Each additional vertical layer can only overhang the previous layer at a 45 degree angle. This means you can 3D print a capital letter Y because the branches go up at a gradual 45 degree angle. A capital letter T would collapse, however, because the crossbar is an abrupt 90 degree angle.
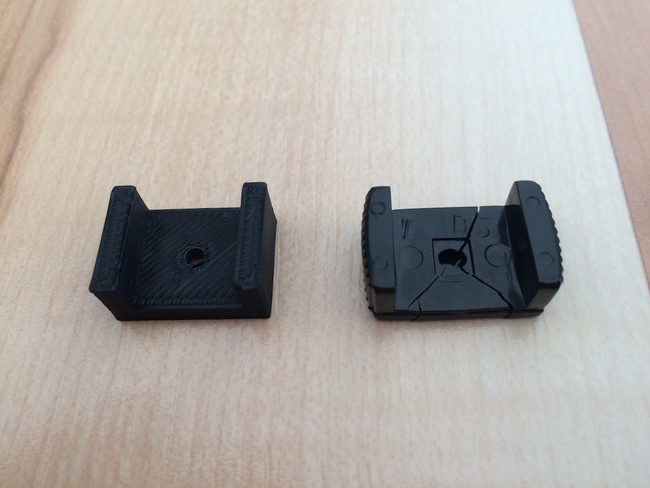
It’s good to start learning 3D printing by trying to recreate an existing part. I used a part from a broken pair of headphones. The part is responsible for holding the headphone headband together. I chose this part because it has a simple geometric design and because I had the broken part available for measurement.
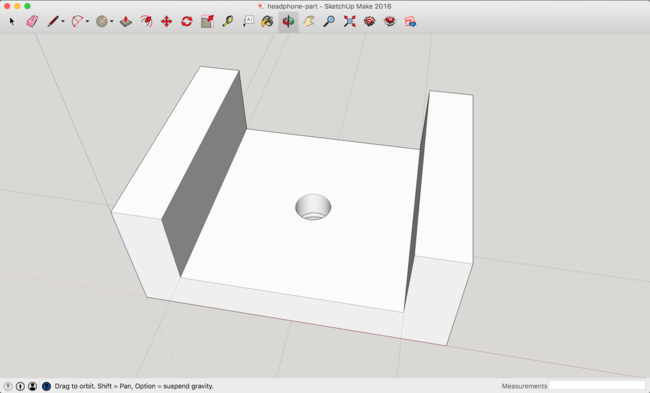
You create your 3D model in a free program called SketchUp. I learned the necessary SketchUp skills in a one hour class at the Duluth Maker Space on Sunday. Using a precision ruler, measure the dimensions to the nearest millimeter and transfer those dimensions into SketchUp. I measured the groove of my part precisely and it ended up being too tight, so it’s important to add half a millimeter of leeway if necessary. Also, print just one part at a time and verify it fits. 3D printing almost never comes out correctly on the first try.
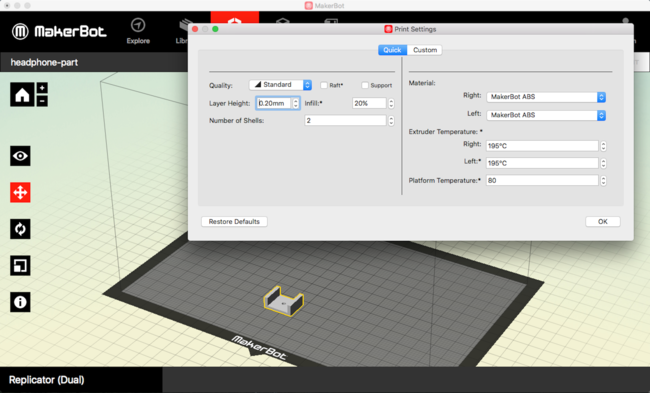
Once your SketchUp model is finished, you need to export it as an STL file. This can’t be done in SketchUp until you install the STL extension. Now that you have an STL file, you can create a print file using MakerBot Desktop. This program will validate that your model is printable and will give you options about temperatures and densities to use for the thermoplastic.
MakerBot Desktop also gives you a neat Print Preview that informs you how long the print will take (10 minutes in my case) and amount of material it will use (1 gram in my case). It will also take a few minutes to warm the printer up to the desired temperature to liquify the thermoplastic. Designs are fed from the computer to the 3D printer using an SD card.
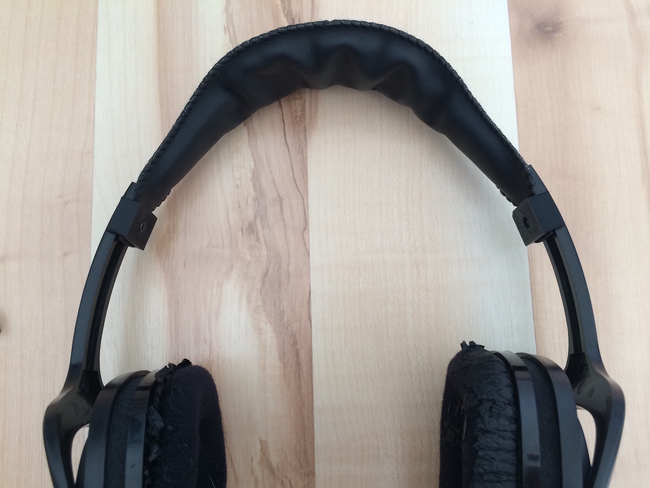
You can see the two fabricated parts in this photo, one of each side of the headband. I did not bring my phone to the Maker space so there are no photos of the printer in action. I’m planning some more complicated prints in the coming weeks and will post a video of the extruder in action.
Overall, not a bad fix. Total cost: 10 cents.


